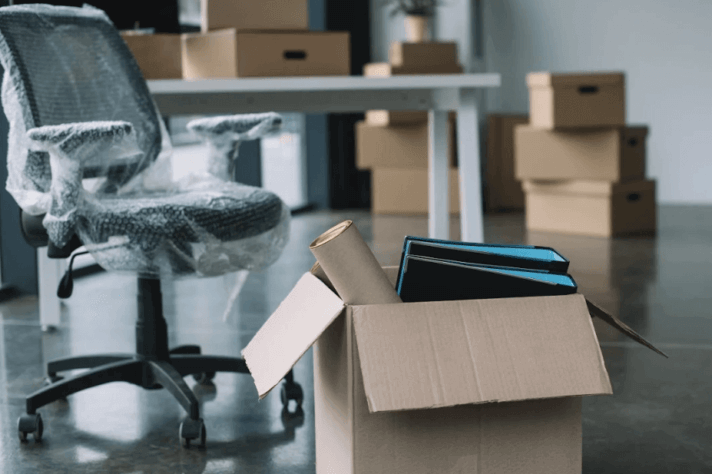
If you don’t plan on getting long-distance moving services and letting professional packers help you relocate your desk, begin by disassembling it, labeling each piece, and wrapping it in furniture blankets for protection. Place smaller items, such as drawers and shelves, in sturdy cardboard boxes, using bubble wrap or foam peanuts to prevent shifting during transport. When loading the truck, place heavier items at the bottom and lighter items on top.
A Step-By-Step Guide on How to Pack a Desk for Moving
One of the most challenging items to transport cross-country is a desk, with its various components and numerous small items. Fortunately, we are here to help you learn how to pack a desk for moving like a pro. Whether you’re a student relocating into a new dorm or an adult relocating to a new home, this guide will provide you with all the necessary information to relocate your desk damage-free.
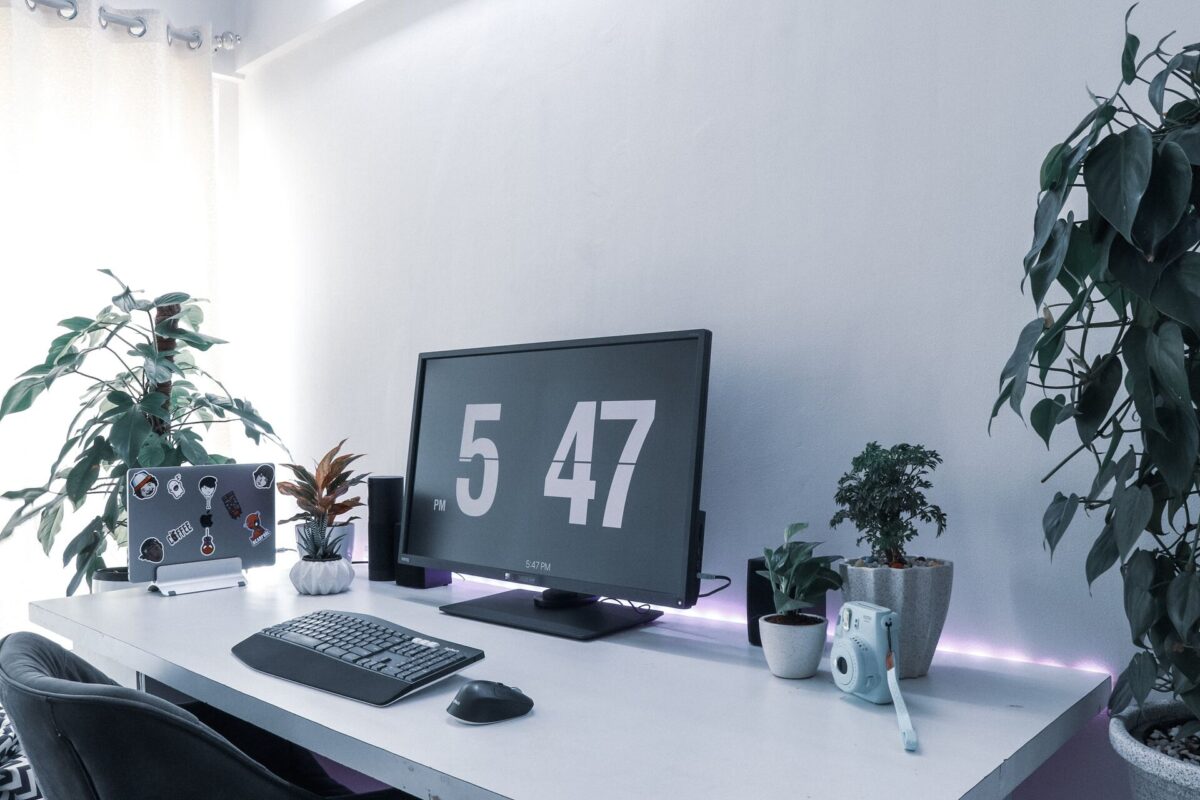

Why Our Step-by-Step Guide Can Help You Learn How to Pack a Desk for Moving?
We prepared this simple guide to break down the process of preparing and transporting desks into manageable steps that are easy to follow. It will help you organize the packing process and save time by ensuring that you box up your desk systematically and efficiently. This can help you avoid last-minute rushing and potential damage to your items. We will provide you with clear instructions and helpful relocation tips that make the task easier and less stressful. By following them, you will be able to minimize the risk of damage when relocating to a new home and make your entire relocation journey less stressful.
Step 1: Before You Pack Your Desk for Moving, Declutter It
Before you start boxing up your desk belongings when relocating to a new state, it’s crucial to declutter your possessions. Transporting an overstuffed desk filled with items you don’t need or no longer use can be exhausting – and not the most efficient use of your time or resources.
How to Decide What to Keep, Donate, or Discard
To begin the desk decluttering process, it is essential to assess your current situation. Start by looking at the contents of your desk, drawers, and surrounding areas. How many items do you have? How many have you not touched in the last six months? Are there any hidden surprises or forgotten possessions? It’s best to declutter your desk in stages, focusing on one area at a time, to make the process manageable and less overwhelming.
Keep items essential to your daily work, things that are in good condition, and objects with sentimental value. Donate items that are still functioning and valuable but don’t necessarily serve a purpose in your everyday life. Finally, discard anything that is broken, irreparable, or holds no value to you or someone else.
Common Desk Items That May Not Be Worth Moving Cross Country
When decluttering your desk, it’s essential to consider which items might not be worth relocating to a new city, such as:
- Outdated or nonfunctional electronics,
- Old paperwork and files (keep in mind that you can always digitize important papers),
- Excess stationery and office supplies.
Additionally, don’t bother relocating expired or half-eaten food since you can always restock once you’ve settled in your new home.


Step 2: Gather Packing Supplies
When preparing for a relocation, one of the most important elements will be gathering the right packaging materials. Investing time and effort in collecting proper supplies is crucial, especially when it comes to packing your desk, which likely contains valuable electronics, important documents, and various small items.
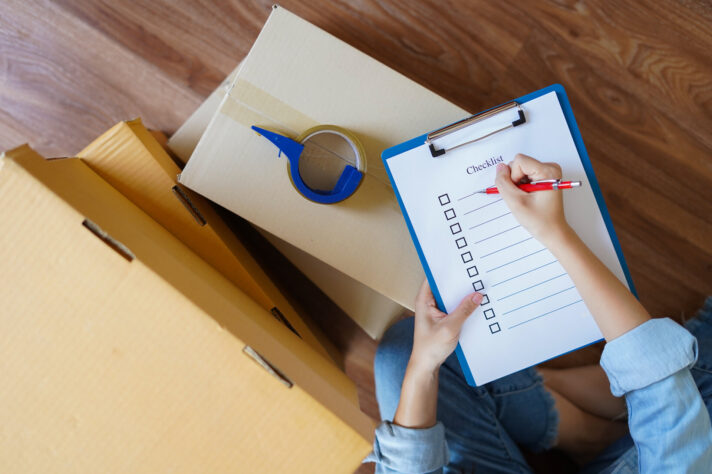
Create a Checklist to Ensure You Have Everything
In order to pack efficiently, you will need the following materials:
- Boxes – they need to be sturdy and appropriately sized,
- Bubble wrap – to protect the fragile parts of your desk, such as glass tabletops and electronics,
- Packing paper – to wrap and protect the parts of your desk and its components,
- Plastic wrap – to protect the finish of your desk and its drawers,
- Tape – to secure boxes and packing material,
- Relocation blankets – to protect bulky parts,
- Ziplock bags – to store screws, bolts, and other small parts that go with the desk,
- Relocation labels and markers – to label each box with the contents of the desk.
Where to Get Free or Affordable Packing Materials?
There are several ways to find these supplies for free or at a low cost. Begin by checking with friends, family, and coworkers who have recently moved or receive regular package deliveries. They might have leftover boxes and materials that they no longer need.
Local stores, particularly grocers and retailers, are another excellent source of free boxes. Also, check online forums such as Craigslist, Facebook Marketplace, and Nextdoor for local listings of people giving away supplies you may need.
Packing
Our expert moving teams are trained to ensure the safety of your personal belongings.

Auto Transport
Cross Country Moving Company is the most trusted name in auto industry in the country.
Storage
Cross Country Moving Company is the most trusted name in auto industry in the country.
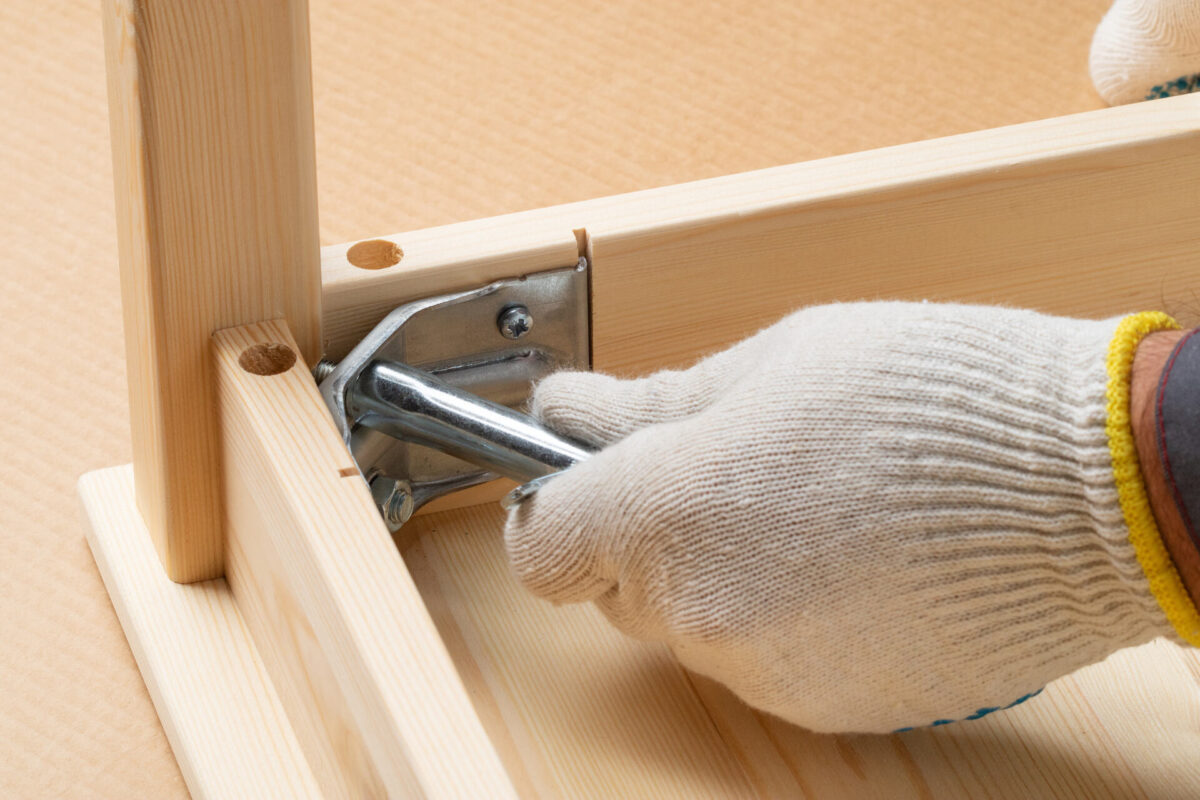
Step 3: Disassemble Your Desk
Disassembling your desk will help you move it more easily and protect it better – avoiding this step would be a potentially severe relocation mistake. Before you start, clear the desk of all its contents to make it easier to relocate and prevent anything from getting damaged. Then, gather the necessary tools, including a screwdriver, pliers, and possibly a hammer.
Begin disassembling the desk by removing the drawers. Empty each drawer first, then pull it out of its slot. If it’s held in place with screws, use the screwdriver to remove them. If it’s held in place with tracks, push the drawer all the way in, then lift the front of the drawer while pulling it out.
Once the drawers are removed, check for any screws or bolts that are holding the top in place. Remove them with a screwdriver or pliers. If the top is glued or nailed, use the hammer to carefully pry it off. Finally, disassemble any remaining parts of the desk using the same method.

Step 4: Wrap and Pack All Desk Components
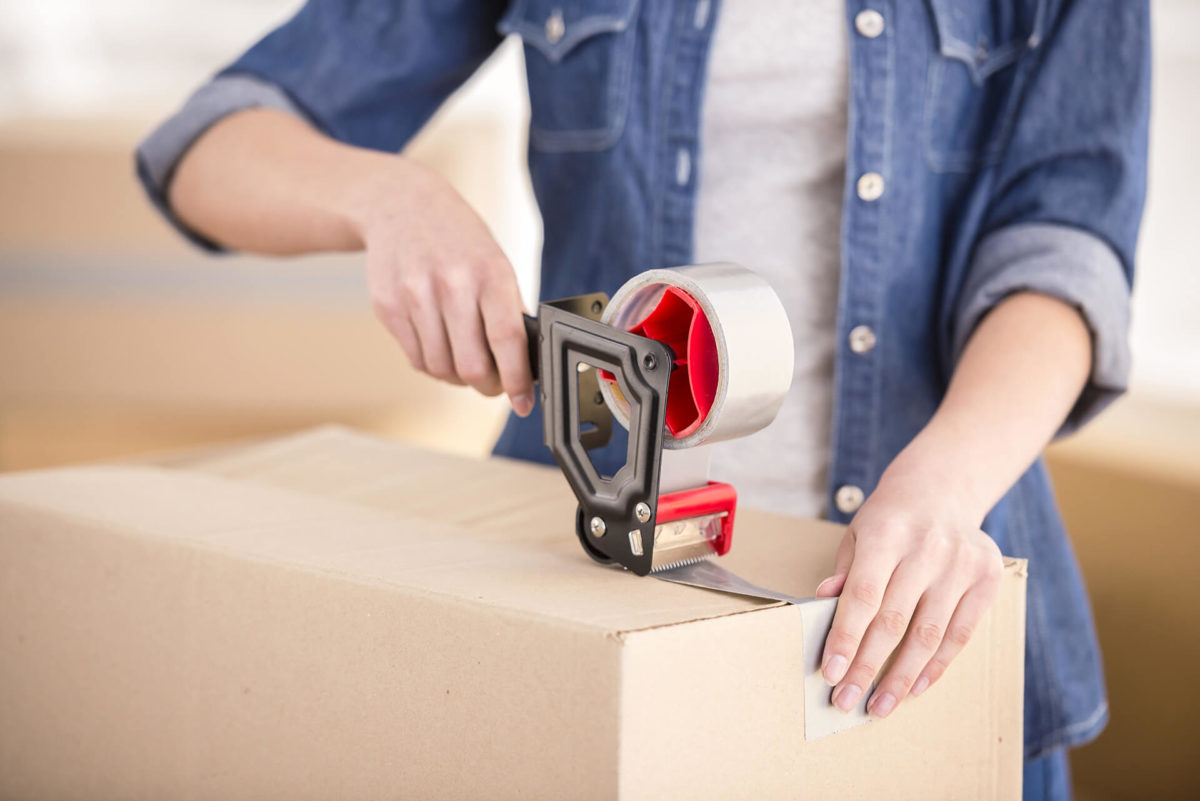
Select boxes that are appropriate for the size and weight of the components. You can purchase specialty boxes designed for relocating large items such as desks or use standard boxes and reinforce them with packing tape. You should also add cushioning to prevent any movement during transport. Then, carefully place the wrapped components into the box, making sure there is no empty space. After the components are packed, seal the boxes with tape.
Tips for Wrapping and Protecting Fragile and Bulky Parts
When it comes to packaging fragile components like glass tops, mirrors, and electronic equipment, using the right material is crucial. Wrap each part separately in bubble wrap or thick packing paper, ensuring that all vulnerable areas are adequately covered. Secure the wrapping using tape, but be careful not to apply the tape directly on the surface of the item. Place a layer of foam or cardboard between items to provide additional cushioning and prevent items from rubbing against each other. Those parts that can’t fit into the box should be wrapped with relocation blankets.
Maximize Space and Weight Distribution in the Boxes
When filling the boxes, start with the heaviest items at the bottom and gradually layer the lighter ones on top. This method helps in distributing the weight evenly and ensures a better balance of the box.
Step 5: Label and Organize Your Desk Boxes
Choose a labeling system that works for you, whether it’s using color-coded labels or simply labeling each box with a description of its contents. Write a clear description of the contents of each box on the label. This will help you easily identify which boxes go where when you’re unpacking after the relocation. If you are not going through a last-minute move, it’s also a good idea to create an inventory of each box and its contents.

Step 6: Transport and Reassemble Your Desk
Once you place your desk in the experienced hands of long-distance movers (if you plan on getting cross-country moving service) or transport it on your own, all that is left to do is reassemble all the desk parts and organize your desk space. When you arrive at your new location, make sure to have all the necessary tools for reassembly. Start by following the instructions for putting the desk back together, taking your time to ensure each piece is properly secured. Finally, test the desk to ensure it is sturdy and level, and then enjoy your newly set up workspace.

Bonus Step: Personalize and Optimize Your Desk Setup in the New Space
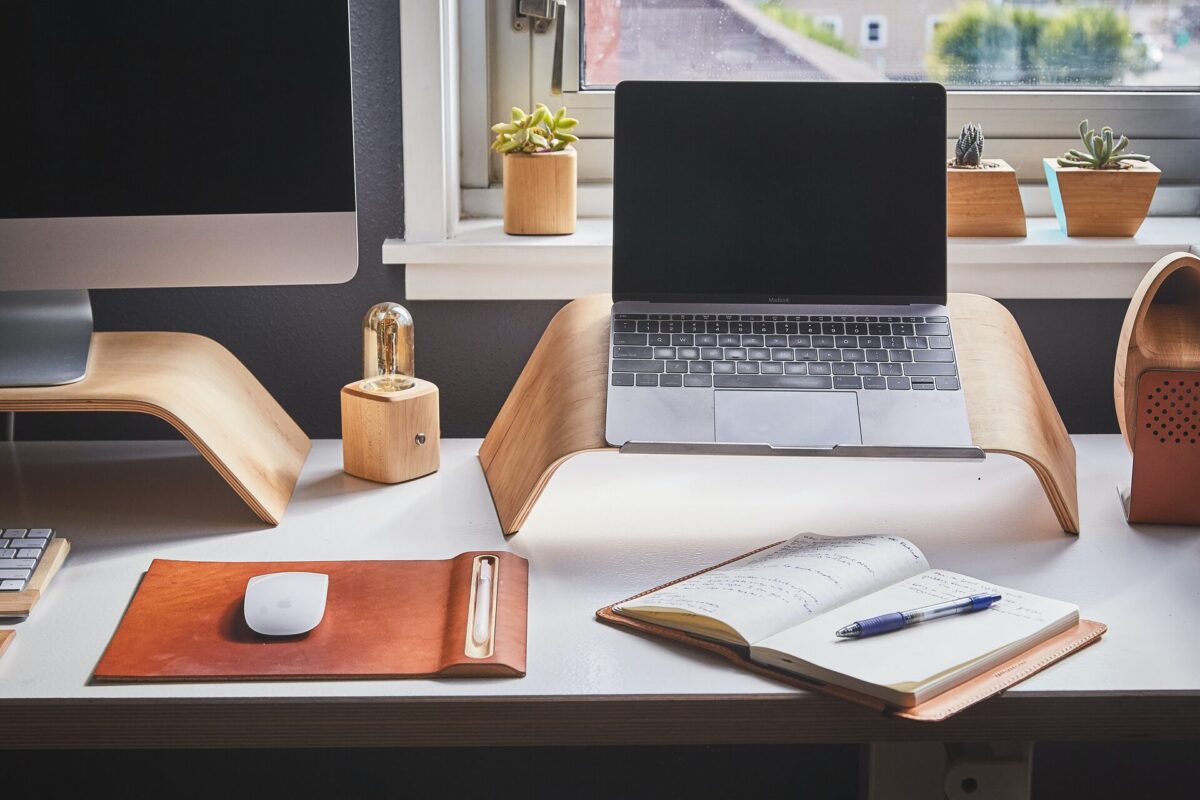
Once you’ve safely relocated your desk to a new home, it’s important to create a comfortable and efficient workspace. Positioning your desk near a window and investing in a good desk lamp can improve lighting and visibility. Additionally, trying to organize your desk with trays, file holders, and drawer dividers will keep your workspace tidy and help you stay focused. Personal touches, such as photos or plants, can make your workspace feel more inviting and inspiring – so don’t hesitate to use them. By personalizing and optimizing your desk setup, you can create a workspace that makes you feel comfortable and productive.

How Do I Pack a Desk for Moving? Let Long-Distance Movers Ship It Safely and Efficiently
Moving cross-country can be a stressful experience, and packaging and shipping furniture, such as desks, can add to the complexity of the process. One way to simplify this process is to hire a reliable long-distance moving company, such as Cross Country Moving Company, to help you prepare and ship your desk safely and efficiently. Here are some reasons why you should consider getting professional relocation and packing services:
- Expertise – professional cross-country movers have extensive experience in packaging furniture,
- Equipment – they have access to specialized equipment, such as relocation blankets, furniture pads, and dollies, that will protect your desk during transport,
- Insurance – most long-distance movers offer insurance to protect your belongings during transport,
- Time-saving – getting cross-country moving services can save time as well as energy.
Some cross-country moving companies, such as ours, will even handle different aspects of the move, including assembling, loading, unloading, and assembling your desk for a standard price, allowing you to relocate efficiently without breaking the bank.

Let Professionals From Cross Country Moving Company Help You Pack and Move Your Desk
There is no need to do all on your own when planning a long-distance relocation – instead, consider getting help from reliable, professional movers, such as Cross Country Moving Company. Our team can help save you time and energy, protect your desk during the move, and even provide insurance coverage for all of your belongings. With our expertise and experience, you can have peace of mind knowing that your desk, as well as all the rest of your household goods, are in good hands. So, take the stress out of your move and contact us today to get started!
Frequently Asked Questions About How to Pack a Desk for Moving
Should I Disassemble My Desk Before Packing It for Moving?
Disassembling your desk can be a smart choice for several reasons. By disassembling it, you can break it down into smaller, more manageable pieces that are easier to lift and transport. Disassembling your desk can also help you save space in the truck, which can be especially important if you have a lot of items on your relocation inventory list.
How Do I Disassemble My Desk Safely and Efficiently?
The answer to the question How do I pack a desk for moving starts with disassembling. Begin by clearing off the desk and removing any drawers or attachments. Next, identify and label each piece so you can easily reassemble the desk later. Use appropriate tools, such as screwdrivers and wrenches, and follow the manufacturer’s instructions if available. If you’re unsure about how to disassemble a specific part, refer to online resources or consult with a professional.
Do I Need to Keep the Screws and Hardware of My Desk During the Move?
Yes, it’s important to keep the screws and hardware of your desk during a relocation. These pieces are essential for reassembling the desk and ensuring it’s stable and secure.
How Do I Pack and Protect Fragile Parts of My Desk, Such as Glass Tops or Mirrors?
First, remove any hardware or detachable parts and wrap them separately in bubble wrap or packing paper. For the glass or mirror, wrap it in a layer of bubble wrap, making sure to cover all edges and corners. Then, place it in a box with packing peanuts or foam around it to prevent any movement during transportation. Label the box as fragile and use arrows to indicate which side should be facing up.
What Type of Packing Materials Should I Use for My Desk, Such as Bubble Wrap or Foam Peanuts?
Some common packing materials for desks include bubble wrap, foam peanuts, and packing paper. Bubble wrap and packing paper are popular choices for fragile items, as it provides cushioning and protection against impact. Foam peanuts can also be used to fill empty spaces in the box and prevent shifting during transport. You can also use furniture pads or blankets to wrap and protect larger pieces of the desk, such as the top or legs.
How Many Boxes Do I Need for Packing My Desk?
The number of boxes needed to pack a desk for moving will depend on the size and complexity of the desk, as well as the items that need to be packed with it. As a general rule of thumb, a standard desk will require at least two or three medium-sized boxes for packaging its components, such as drawers and shelves, and one or two larger boxes for the desk surface and legs. If you have additional items, such as a computer, printer, or office supplies, you may need more boxes so everything can be shipped safely.
How Do I Label and Organize the Boxes Containing My Desk Components?
Start by labeling each box with a brief description of its contents, such as “desk surface” or “drawer components.” Use a dark marker to write clearly on the boxes, making sure the labels are visible from all sides.
Can I Pack Other Items Inside the Desk Drawers or Cabinets During the Move?
It may be tempting to leave other items inside the desk drawers or cabinets during a move, but it’s generally not recommended. The weight of the additional items can cause damage to the desk or make it more difficult to move. Additionally, items packed inside drawers or cabinets may shift during transport, potentially causing damage to both the desk and the items inside.
How Do I Transport My Desk to the New Location, Especially if It's Heavy or Bulky?
The first step is to disassemble the desk into manageable pieces, such as the legs, drawers, and surface. Wrap each piece in furniture pads or blankets to protect it during transport. To avoid damage to the desk or surrounding walls and doorways, take care to move the desk slowly and carefully.
How Do I Reassemble My Desk in the New Location, and What Tools Do I Need?
Begin by referring to the instructions that came with your desk or use photos taken during the disassembly process to guide you. Lay out all the pieces in the order you’ll need them and have the necessary tools on hand. Start by attaching the legs to the desk surface, making sure they are secure and level. Then, attach any drawers or shelves, followed by any remaining components, such as keyboard trays or wire management systems. Take your time to ensure that each piece is correctly assembled and securely fastened. Finally, test the desk to make sure it is sturdy and level.

